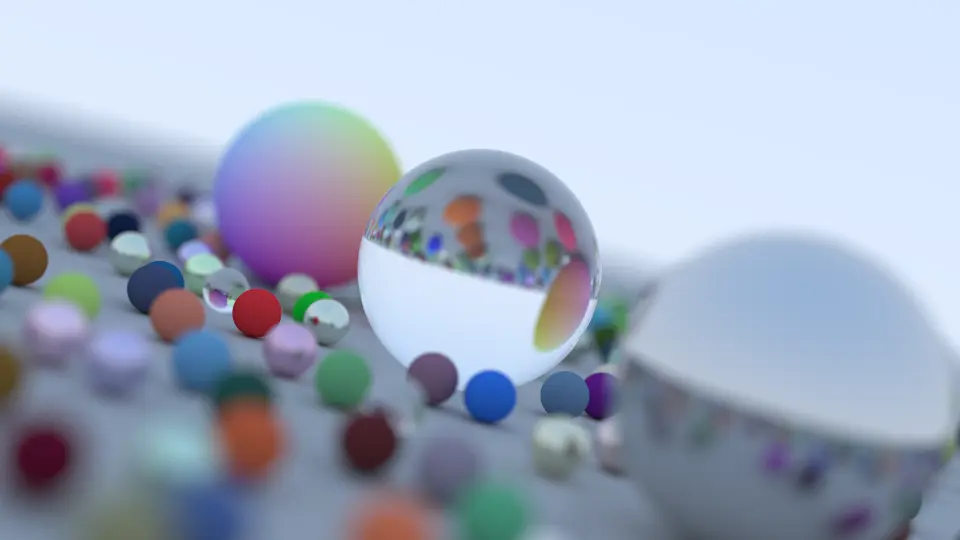
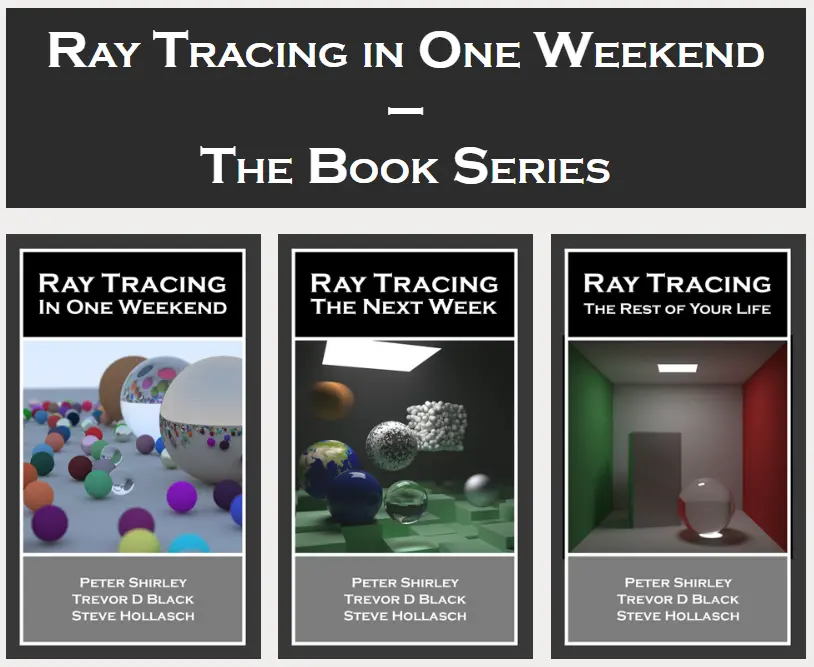
Drawing inspiration from the acclaimed 'Ray Tracing in One Weekend' series authored by Peter Shirley, Trevor David Black and Steve Hollasch our project embarks on an exciting journey into the world of ray tracing. Join us as we delve into the art and science of creating stunning visual images through the power of C++, building upon the wisdom and techniques shared in these two seminal books.
.webp)
Camera UVs are crucial in the world of ray tracing. They define how the 3D scene is mapped onto a 2D image. Think of them as the coordinates on the image plane that correspond to points in the 3D space. By manipulating these UVs, you can control the perspective, field of view, and lens effects in your ray tracer. Understanding camera UVs is essential for achieving realistic and visually appealing results in ray tracing.
.webp)
Rendering the first circle in a ray tracer, even without shading, is a fundamental step in the rendering pipeline. It involves determining whether each pixel on the image plane corresponds to a point inside the circle. If so, that pixel is assigned the circle's color. This basic rendering process lays the foundation for more advanced shading and lighting techniques.
.webp)
A sphere colored with normals is a visually striking rendering technique. It involves assigning colors to the surface of a sphere based on its normals, which are vectors perpendicular to the surface at each point. Typically, these colors represent the direction of each normal vector, creating a vibrant and dynamic visual effect. This approach is often used in computer graphics to highlight surface details and enhance the realism of 3D objects in scenes.
.webp)
The first diffuse material, commonly known as Lambertian, is a fundamental concept in computer graphics. It describes a type of material that scatters incoming light uniformly in all directions. Lambertian materials have a matte appearance and are widely used for modeling surfaces with no specular reflections. Understanding Lambertian materials is essential for implementing realistic shading in 3D rendering.
.webp)
Metallic materials in computer graphics are characterized by their ability to reflect light like metals. These materials often include parameters like a fuzziness value and color to control their appearance. The fuzziness value determines how rough or polished the surface is, affecting the sharpness of reflections. The color of the material influences the tint of the reflections, allowing you to create a wide range of metallic looks in your 3D scenes.
.webp)
Dielectric materials, such as glass, play a significant role in 3D rendering. They are transparent materials that refract and reflect light. When rendering scenes with dielectric materials like glass, factors like camera position, aperture, and focal length become crucial. The camera position determines the viewpoint, while the aperture and focal length affect depth of field and focus, impacting how light interacts with and passes through dielectric surfaces, resulting in realistic glass effects.
.webp)
Perlin noise materials and emissive materials/lights are powerful tools in computer graphics. Perlin noise materials create visually interesting textures by perturbing surface properties with controlled randomness, adding realism and detail to objects. Emissive materials or lights simulate objects that emit their own light, such as light bulbs or glowing surfaces. These are essential for creating realistic lighting scenarios and adding atmospheric effects to scenes.
.webp)
Cornell's box is a standard test for raytracers in computer graphics. It's a simple, controlled 3D scene consisting of a small room with differently colored walls and a few basic objects. This scene is used to assess the capabilities of raytracing algorithms, including their ability to handle shadows, reflections, and refractions accurately. Cornell's box provides a benchmark for evaluating the realism and correctness of raytracing implementations.
.webp)
A volume material with even density is a crucial concept in computer graphics. It represents a 3D region within a scene filled with a material that has uniform density throughout. Such materials are used to simulate various effects, such as fog, smoke, or other participating media. Understanding how to handle volume materials with even density is essential for creating realistic atmospheric and environmental effects in raytraced scenes.
.webp)
Image projection onto a sphere is a common technique in computer graphics. It involves mapping a 2D image onto the surface of a 3D sphere. This process allows you to texture a spherical object, such as the Earth or a planet, with a flat image. Properly projecting images onto spheres is essential for creating realistic and visually appealing images.
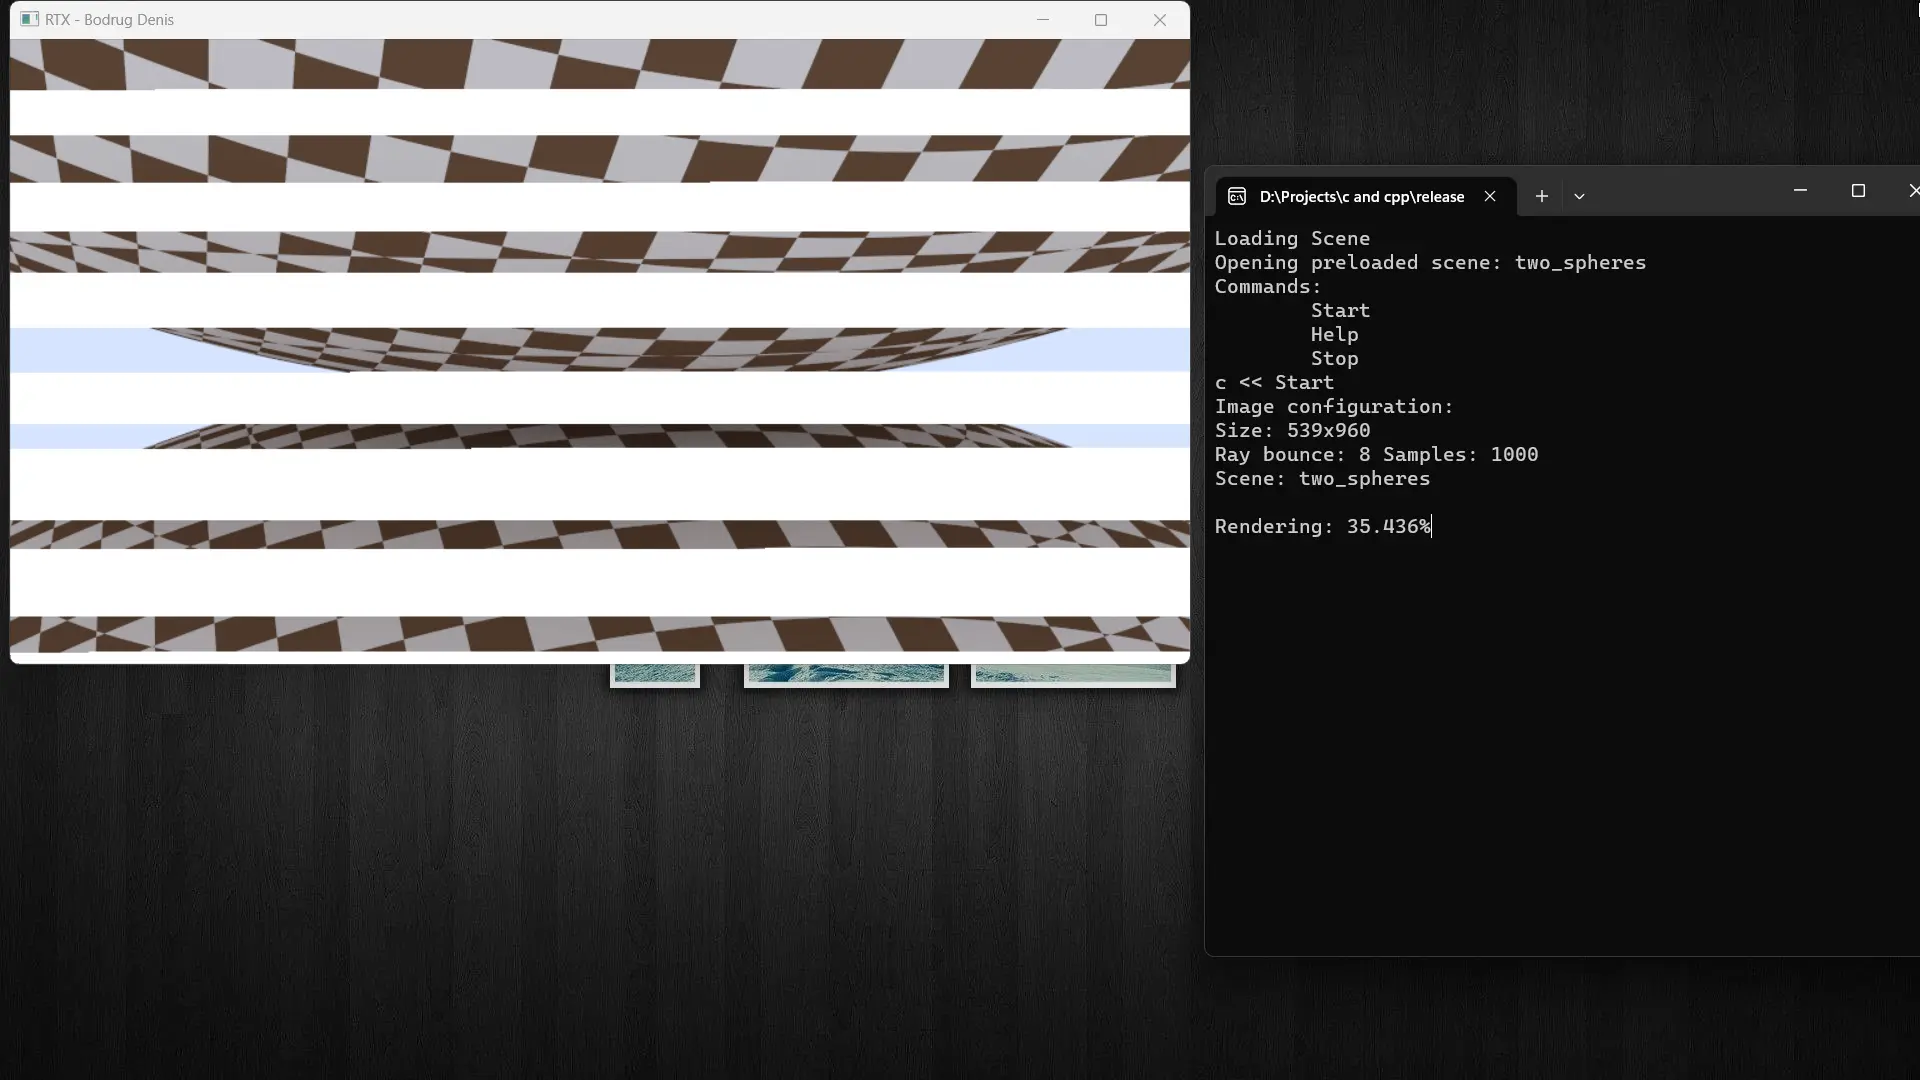
Multithreading is a crucial feature in modern programming, especially in complex applications like raytracers. When developing a raytracer, it's beneficial to utilize all available threads except one to maximize performance and efficiency. This approach ensures that your program fully utilizes the computational power of the host system while leaving one thread available for essential system-level tasks, ensuring the stability and responsiveness of the computer.
By dedicating all but one thread to ray tracing calculations, you achieve a balance between high performance and system responsiveness. This approach prevents the program from monopolizing system resources, which could lead to unresponsiveness or crashes. It also enables users to perform other tasks concurrently, maintaining a smooth user experience.
In summary, multithreading in raytracing, with one thread reserved for system tasks, optimizes performance and responsiveness, providing a better overall user experience and system stability.
Using Windows API*
Between 0 and 2 seconds slower than without live window rendering
*Small bug | because the window might become unresponsive during rendering, after it finishes the buffer is copied whole to the window, on *ODD or uncommon resolutions (ex: 252 x 255) it will be displayed incorrectly, even though the final render is ok.
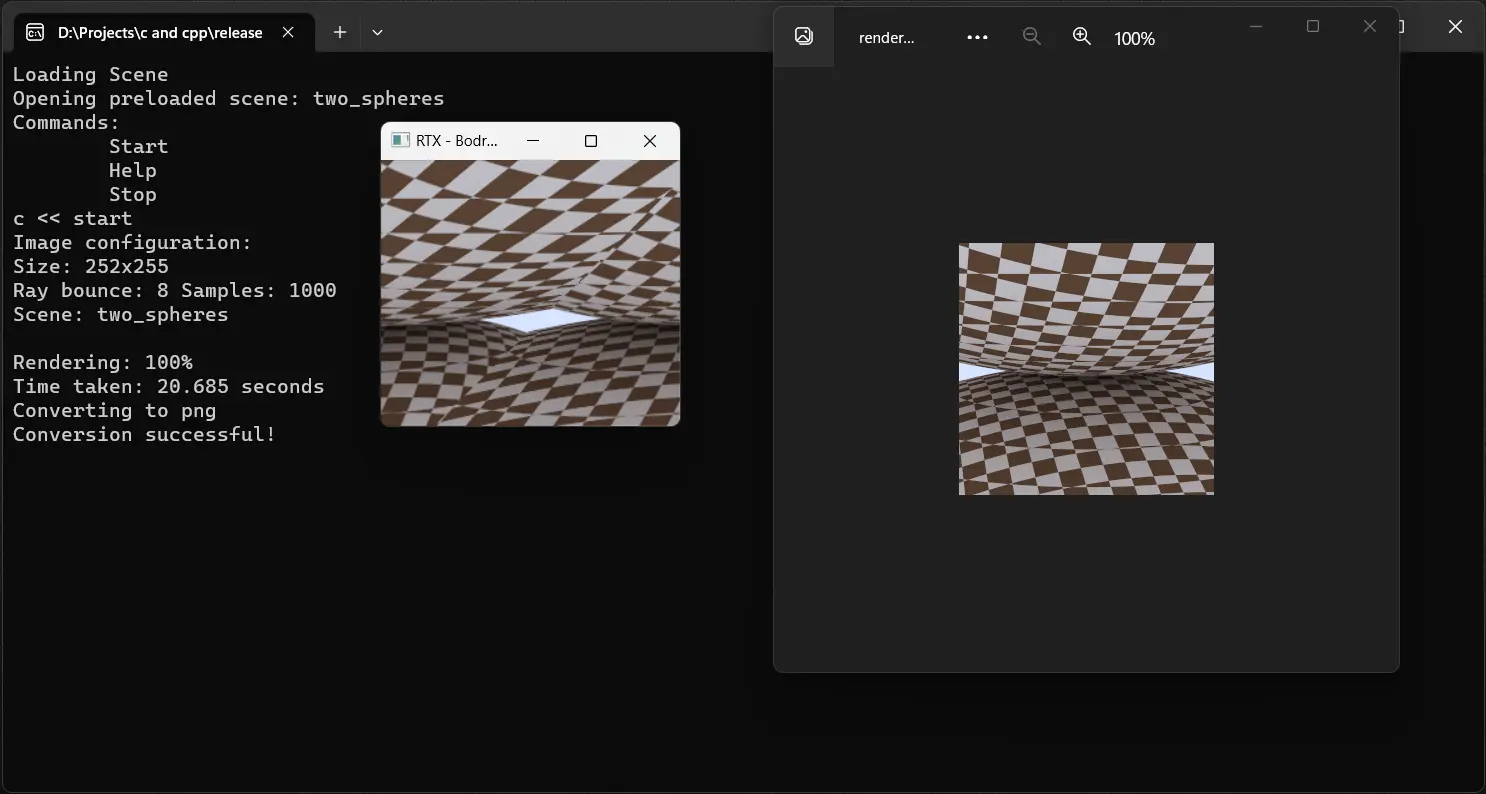
Rendering to a PNG format is a common practice in raytracing. In the rendering process, the program typically creates a buffer to store the image data, which can be easily compared to PPM images due to its simplicity. After rendering the scene, this buffer is converted into a PNG image file named "render.png." The advantage of using PNG format is its support for lossless compression, which results in smaller file sizes without sacrificing image quality. After the conversion, the program opens the "render.png" file, allowing users to view and save the rendered image with ease.
For this the source code | program uses libpng installed via vcpkg
To install libpng on Windows using vcpkg, follow these steps:
.\vcpkg integrate install.\vcpkg install libpngVcpkg will manage the installation and dependencies for you. After installation, you can use libpng in your C++ project within Visual Studio.
For a better explanation, examples and options use the command help in the program's console
The program's configuration is designed to be incredibly user-friendly and can be easily adjusted using a simple text editor like Notepad. This approach makes it accessible for users of all levels of technical expertise to customize the rendering settings, camera parameters, and scene definitions effortlessly.
Yes, you can create your own scenes (currently supports only sphere as objects)
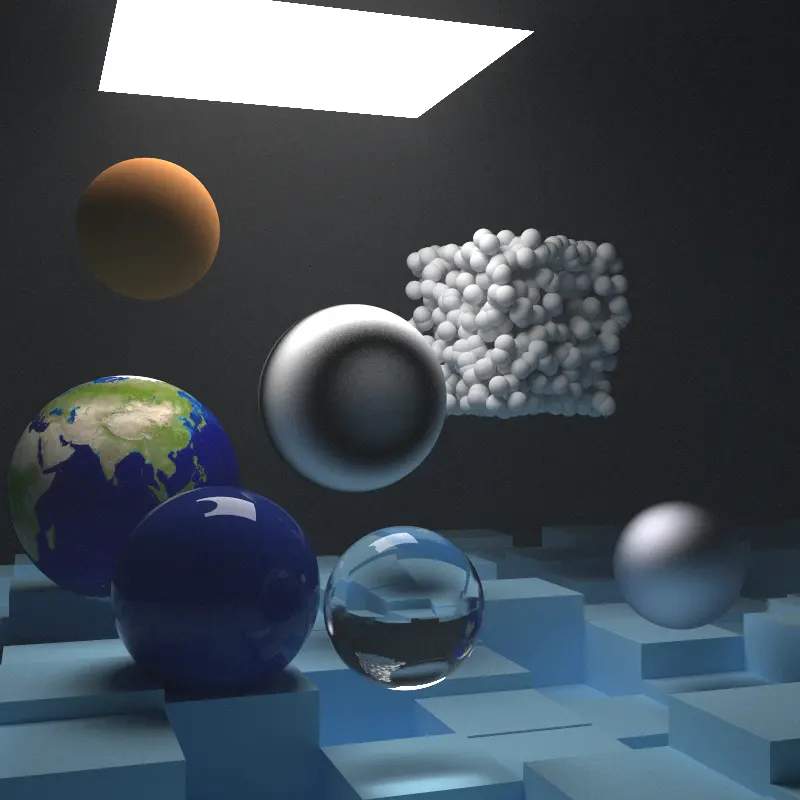
While the journey wasn't without its challenges and debugging, I ultimately succeeded in rendering this image at a resolution of 800 x 800 in 16,274 seconds 4.5 hours. This experience taught me valuable lessons and improved my skills.
A future idea is to explore GPU integration for faster rendering times and enhance the program's user interface. Drawing inspiration from TheCherno's tutorial series, which utilizes the Vulkan SDK and the Walnut template for the window based on ImGUI, such improvements could result in a more responsive and user-friendly UI and UX.
As a little chalange, I modified the source code to render an image 25 times, the camera going around a sphere. This produced 25 frames I use as the Favicon of this webpage. I highly encourage to play around with the code and see what's possible.

 Source Code
 Windows x64